
Portal Registration Instructions
Follow these 19 step-by-step instructions to register as an independent contractor agent and connect with TRJ Connect (Service Provider ID: 4016310, Referral Code: 8588470).
TRJ Connect
When prompted in the portal to choose your Service Partner, enter our ID below to link your profile with our agency.
Step 1: Go to the Registration Portal
Open your web browser (Google Chrome on Windows 11 recommended) and navigate to the official registration portal.
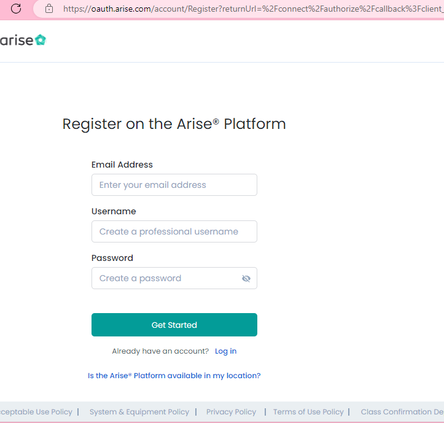
Step 2: Enter Account Information
Enter your active email address, choose a secure password that meets security standards, and enter your personal details.
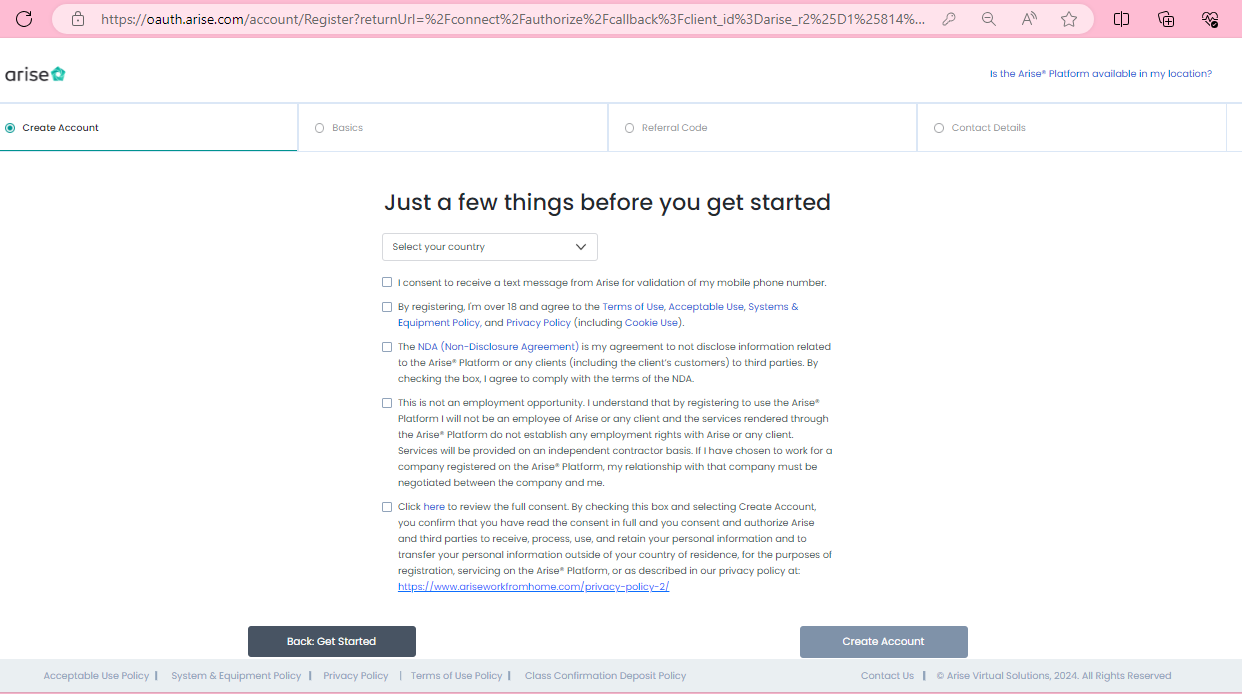
Step 3: Select Country & Agree to Terms
Choose United States in the Country dropdown menu, read through the terms, check mark all agreement boxes, and click 'Create Account'.
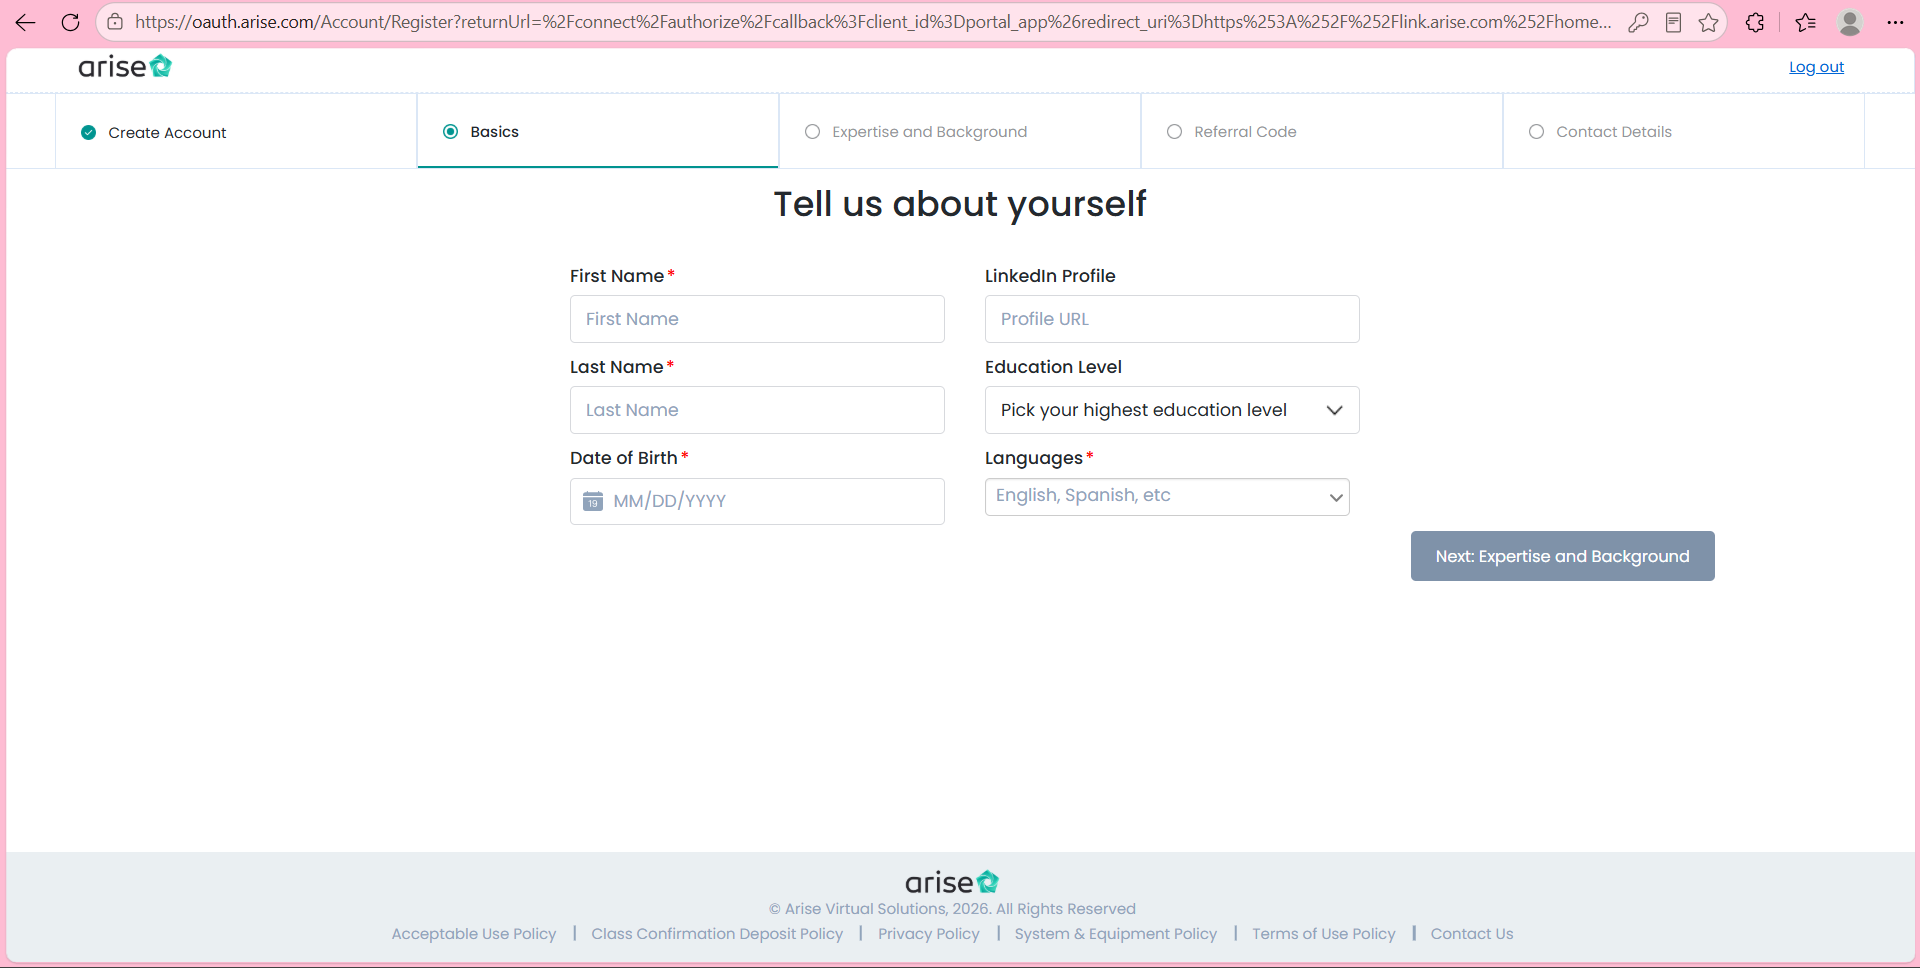
Step 4: Enter Personal Details
Fill in your First Name, Last Name, Date of Birth, and Preferred Language exactly as they appear on your government-issued photo ID, then click 'Next'.
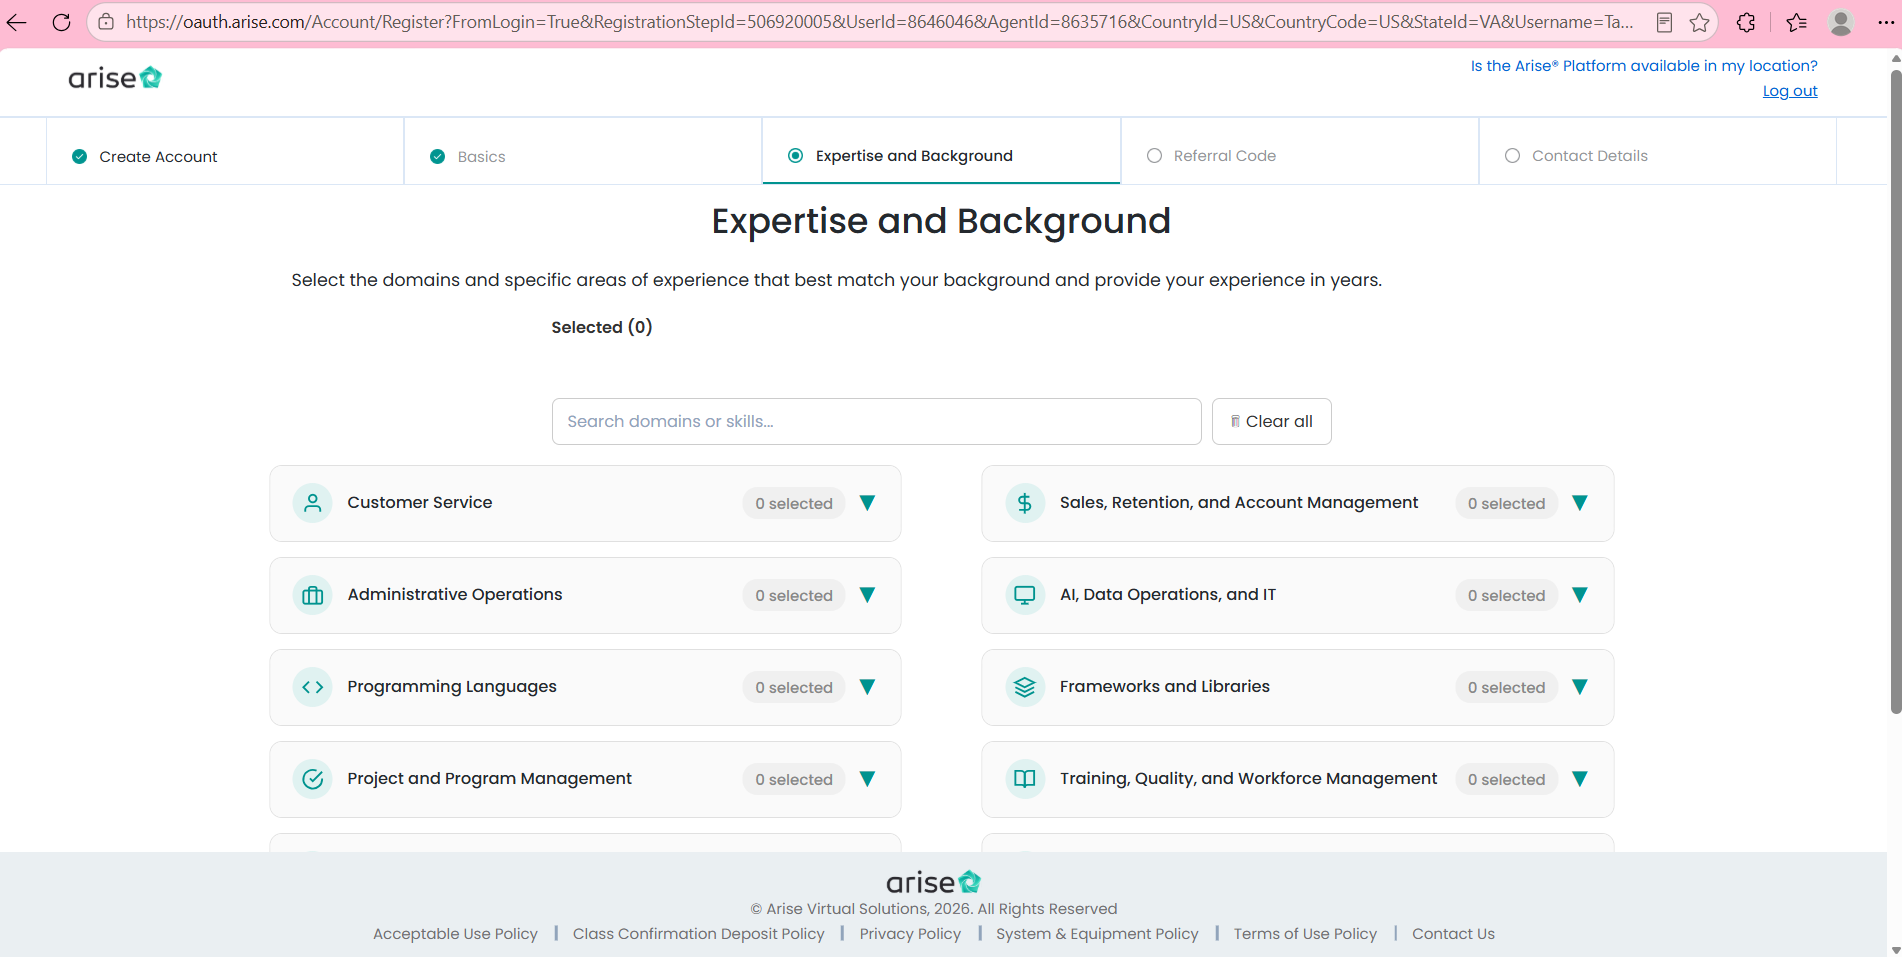
Step 5: Expertise and Background
Select all fields and domains to maximize the amount of client opportunities that will be available to you. Don't limit yourself — keep in mind you will be fully trained!
Step 6: Enter Referral Code
Enter this referral code and proceed to the next step: 8588470. Click 'Submit' and then click 'Next: Contact Details' to continue.
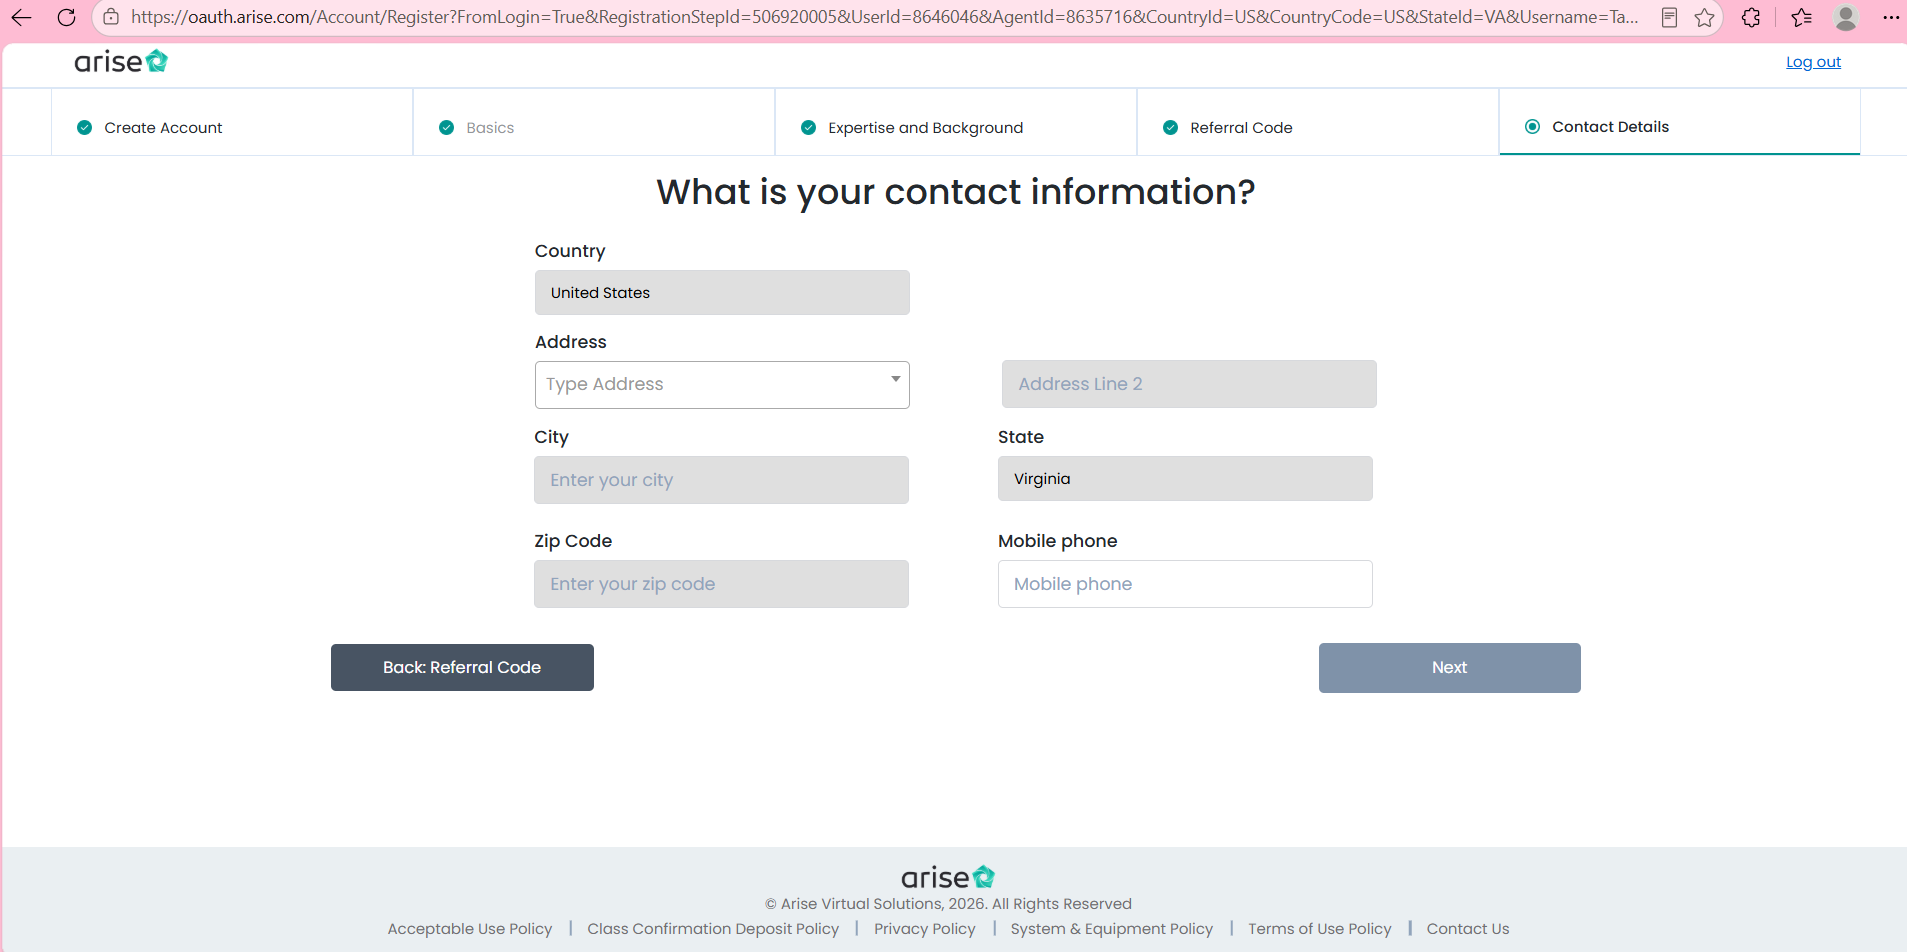
Step 7: Enter Complete Home Address & Phone
Enter your complete residential street address including apartment/suite number, city, state, zip code, and primary mobile phone number, then click 'Next'.
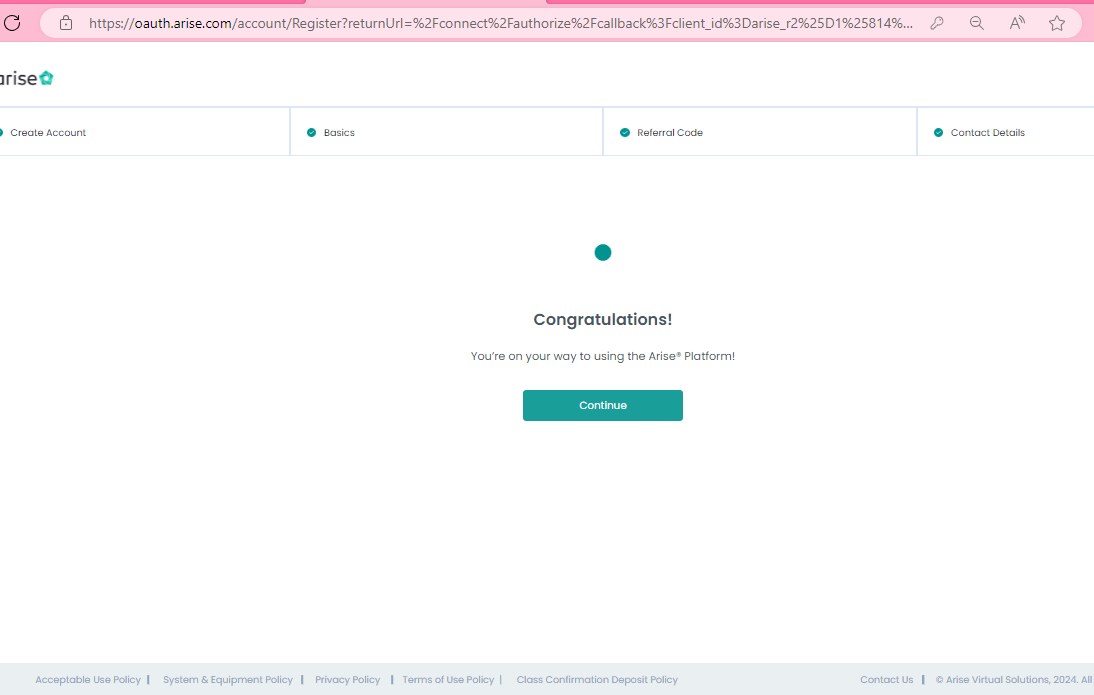
Step 8: Review Confirmation Screen
Carefully verify all the information entered is accurate, and then click 'Continue' to advance to security verification.
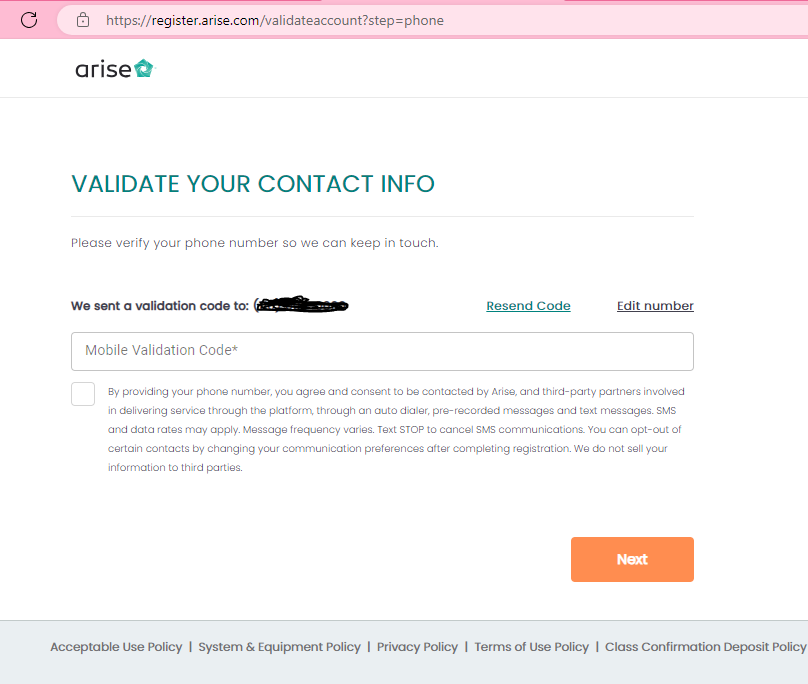
Step 9: Phone Number Validation Code
A numeric verification code will be sent via SMS text to the mobile phone number you provided. Enter the code in the verification box and click 'Submit' / 'Verify'.
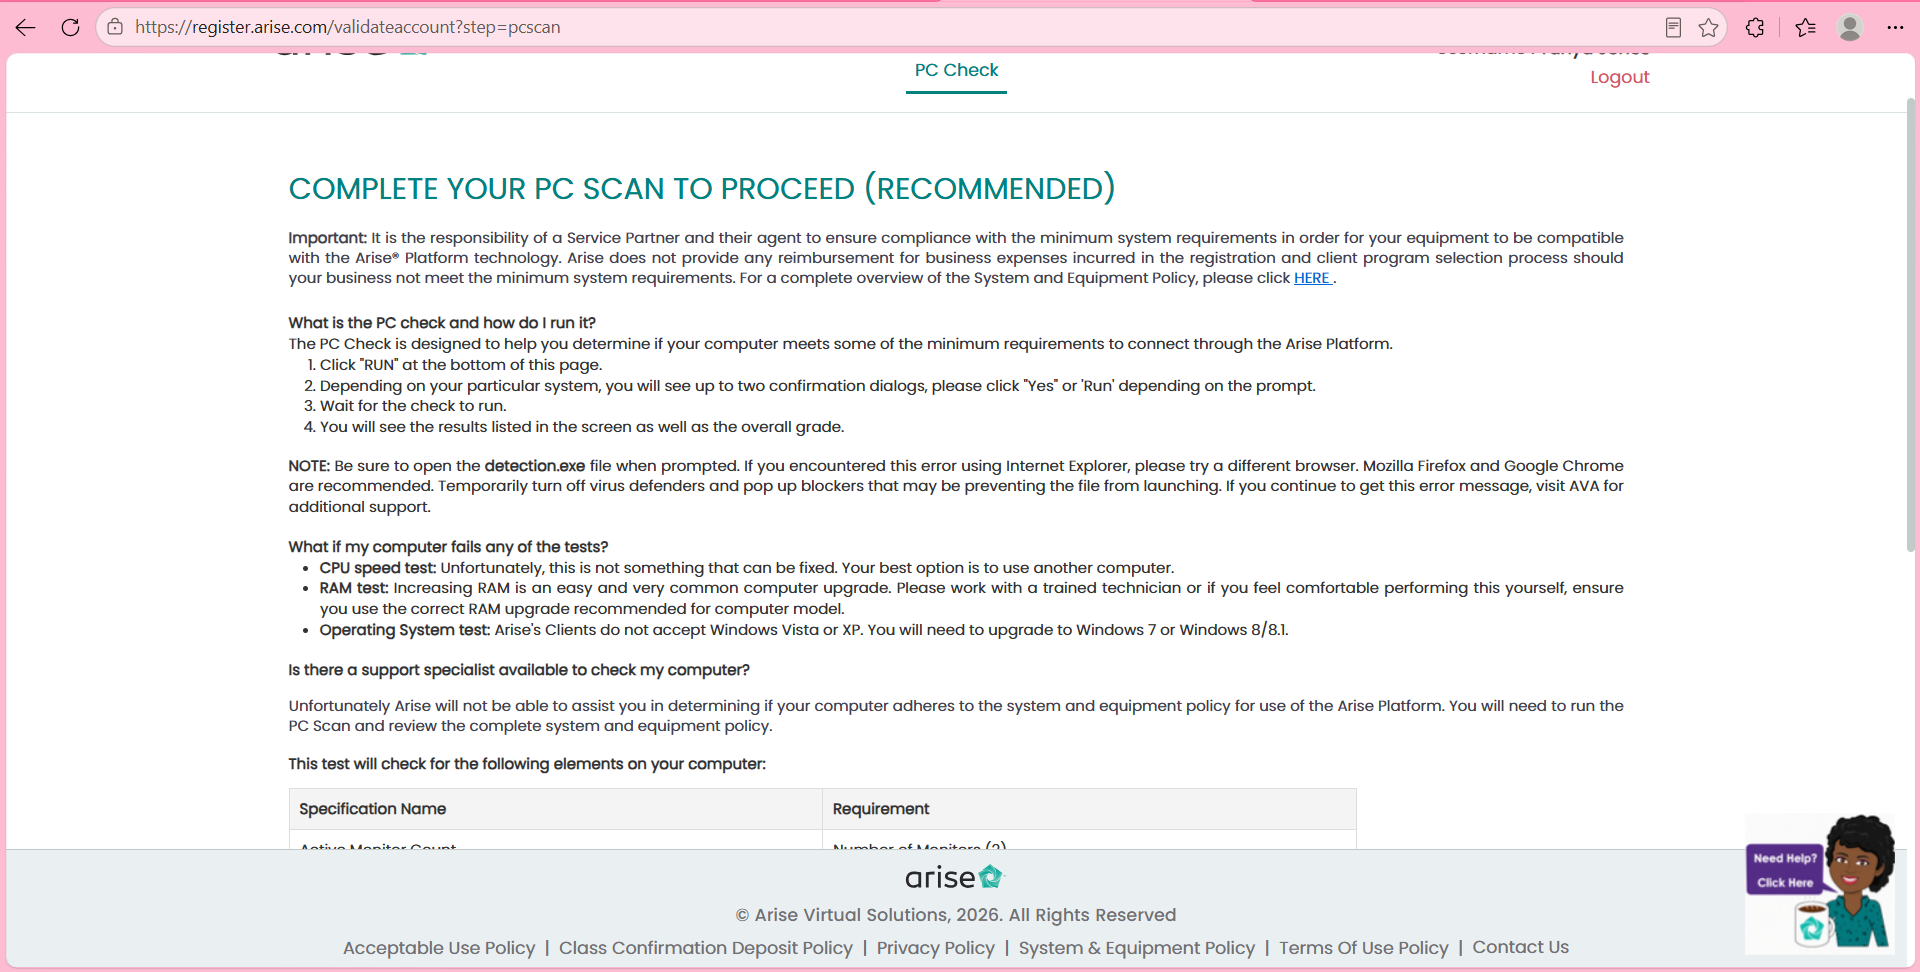
Step 10: Run PC Check
Make sure your Windows 11 has no pending updates and dual monitors or peripherals are connected. Complete a valid PC Scan before enrolling into a client opportunity.
Step 11: Complete the Harver Assessment
Take your time and read each question thoroughly, choosing the best answer from a business standpoint (approx. 45 min). Make sure to disable browser pop-up blockers so the assessment window opens properly.
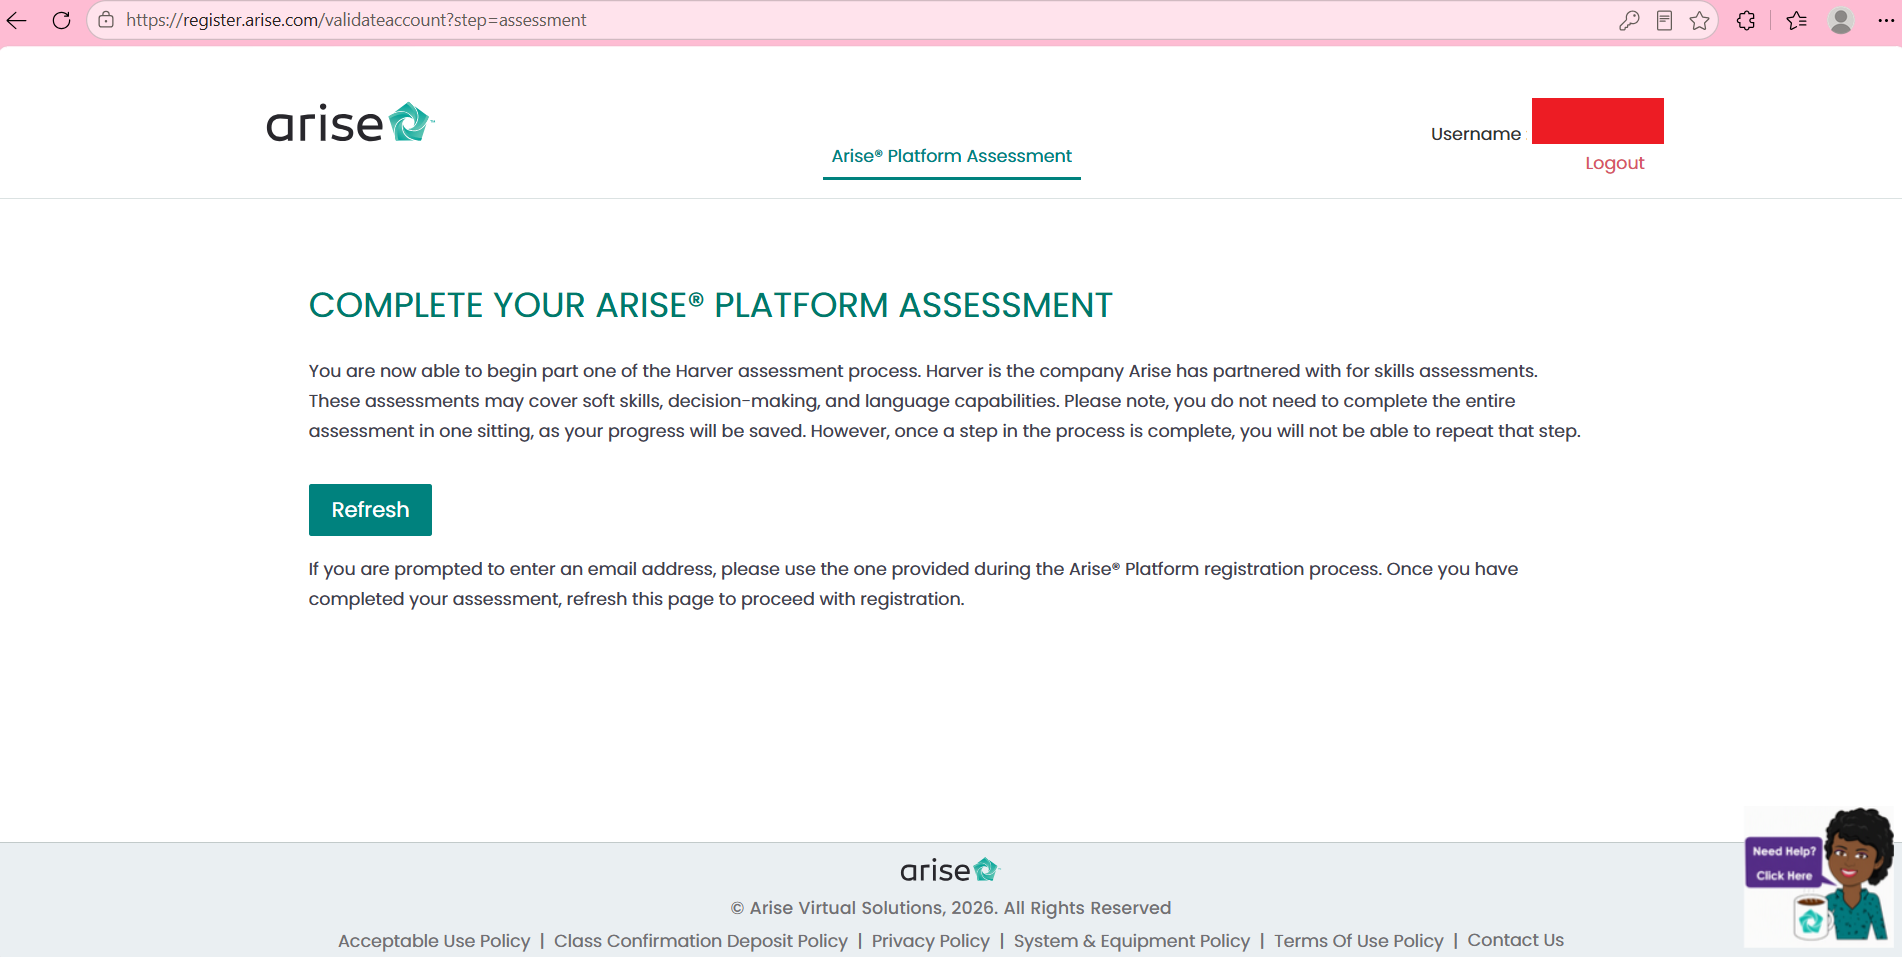
Step 12: Notice of Session Monitoring
During the assessment, you will see a Notice of Session Monitoring regarding periodic photo capture and browser activity tracking. You can decline if you prefer.
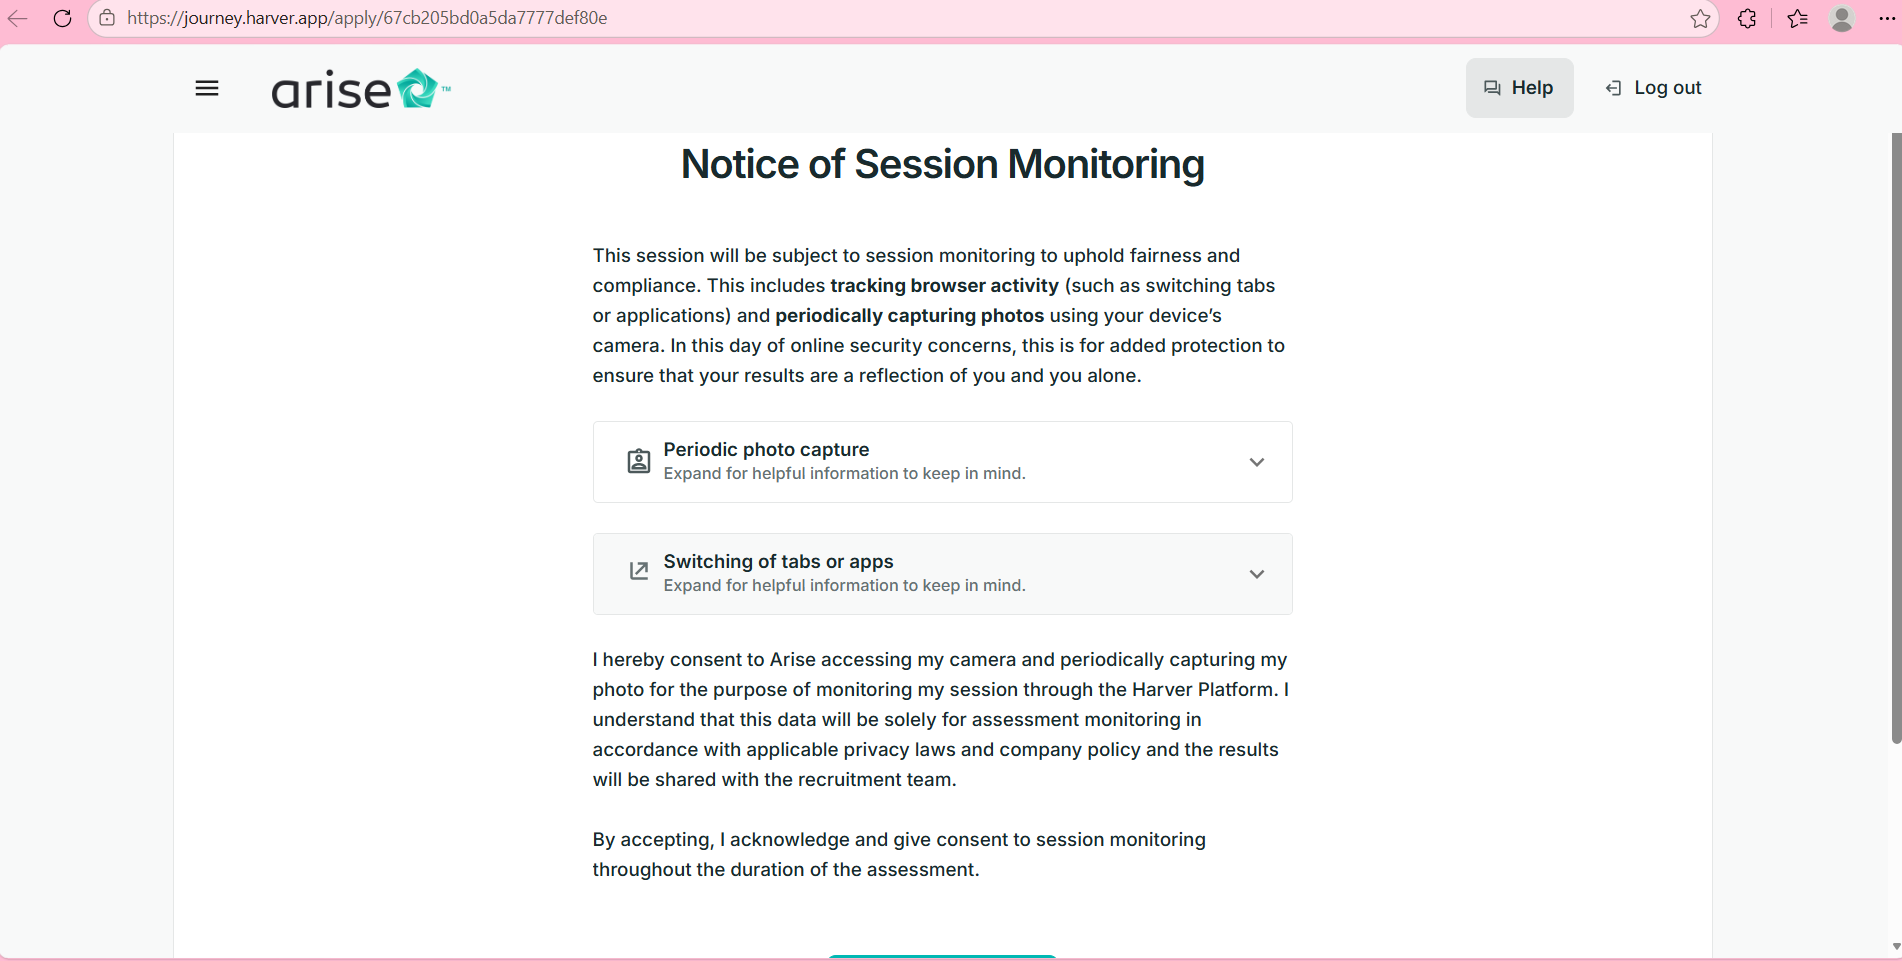
Step 13: When Are You NOT Available to Work?
After the assessment, you will be asked when you can NOT work. DO NOT SELECT ALL! Only select the specific days and time slots when you can't service a client. This is NOT asking how many days you are available.
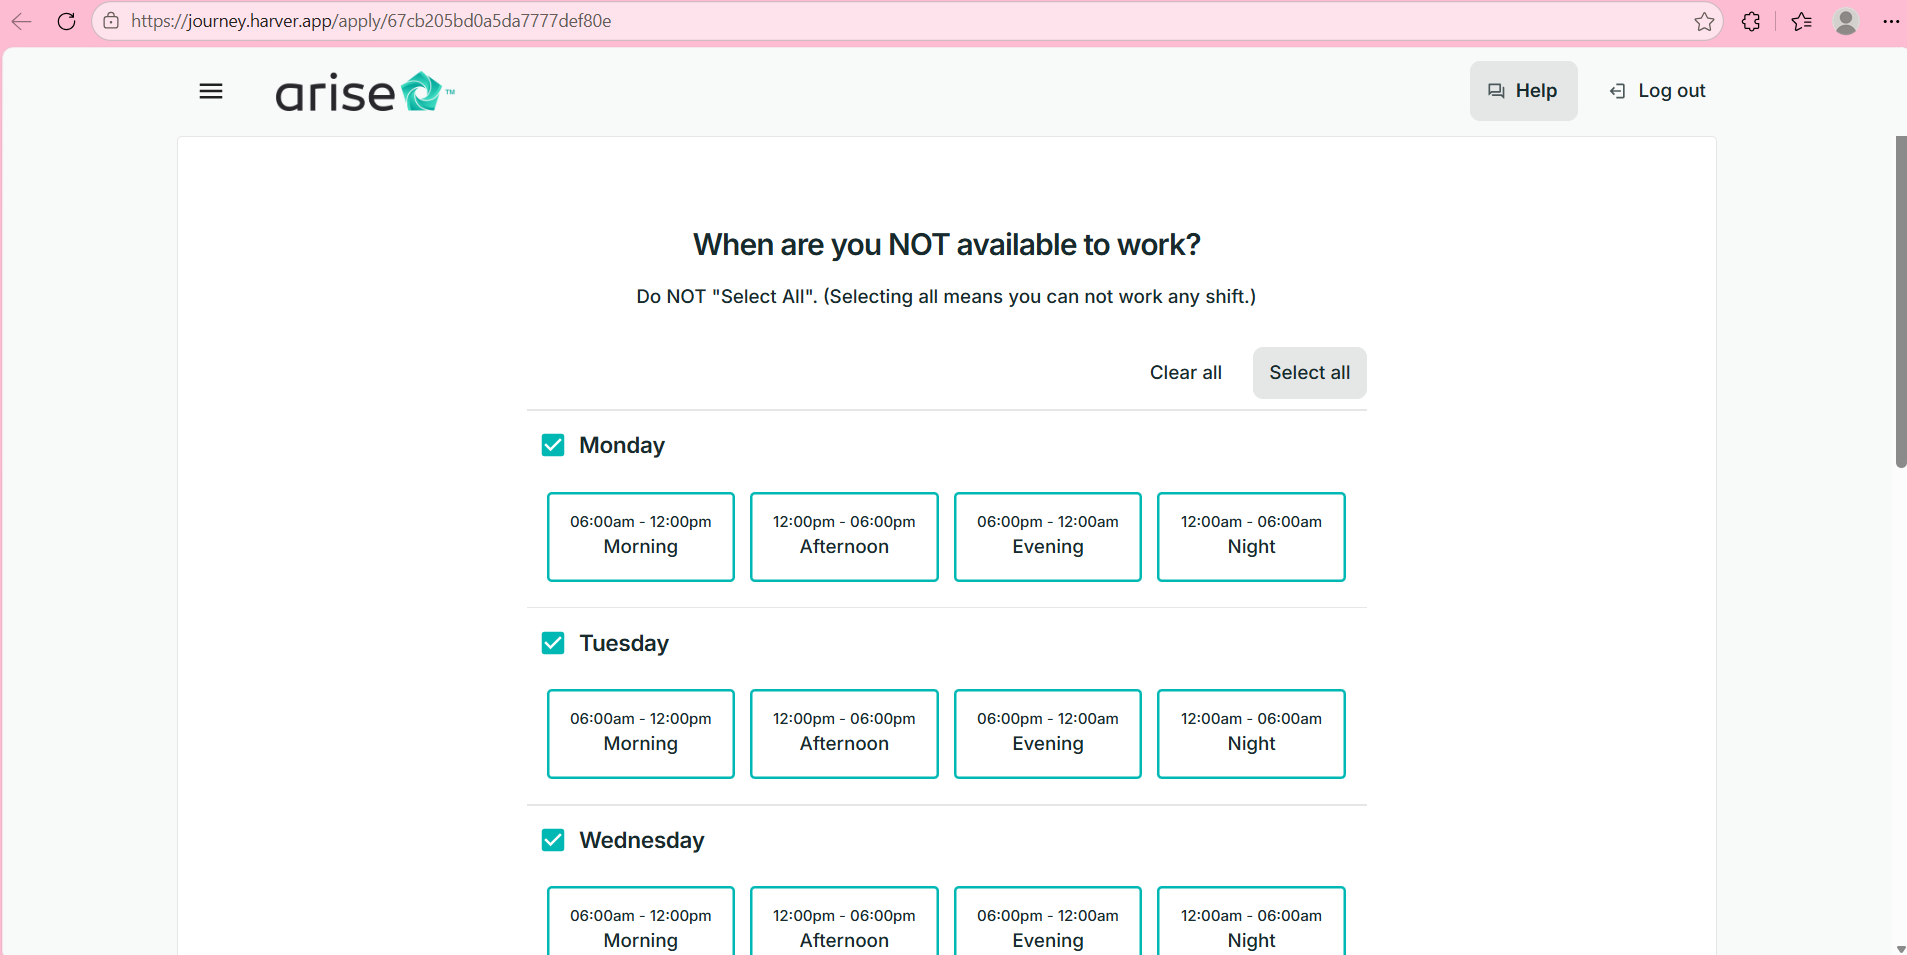
Step 14: Learn More About the Platform (Boost Your Score)
Watching the short videos and answering questions will boost your assessment score and give you a higher chance of getting client opportunities.
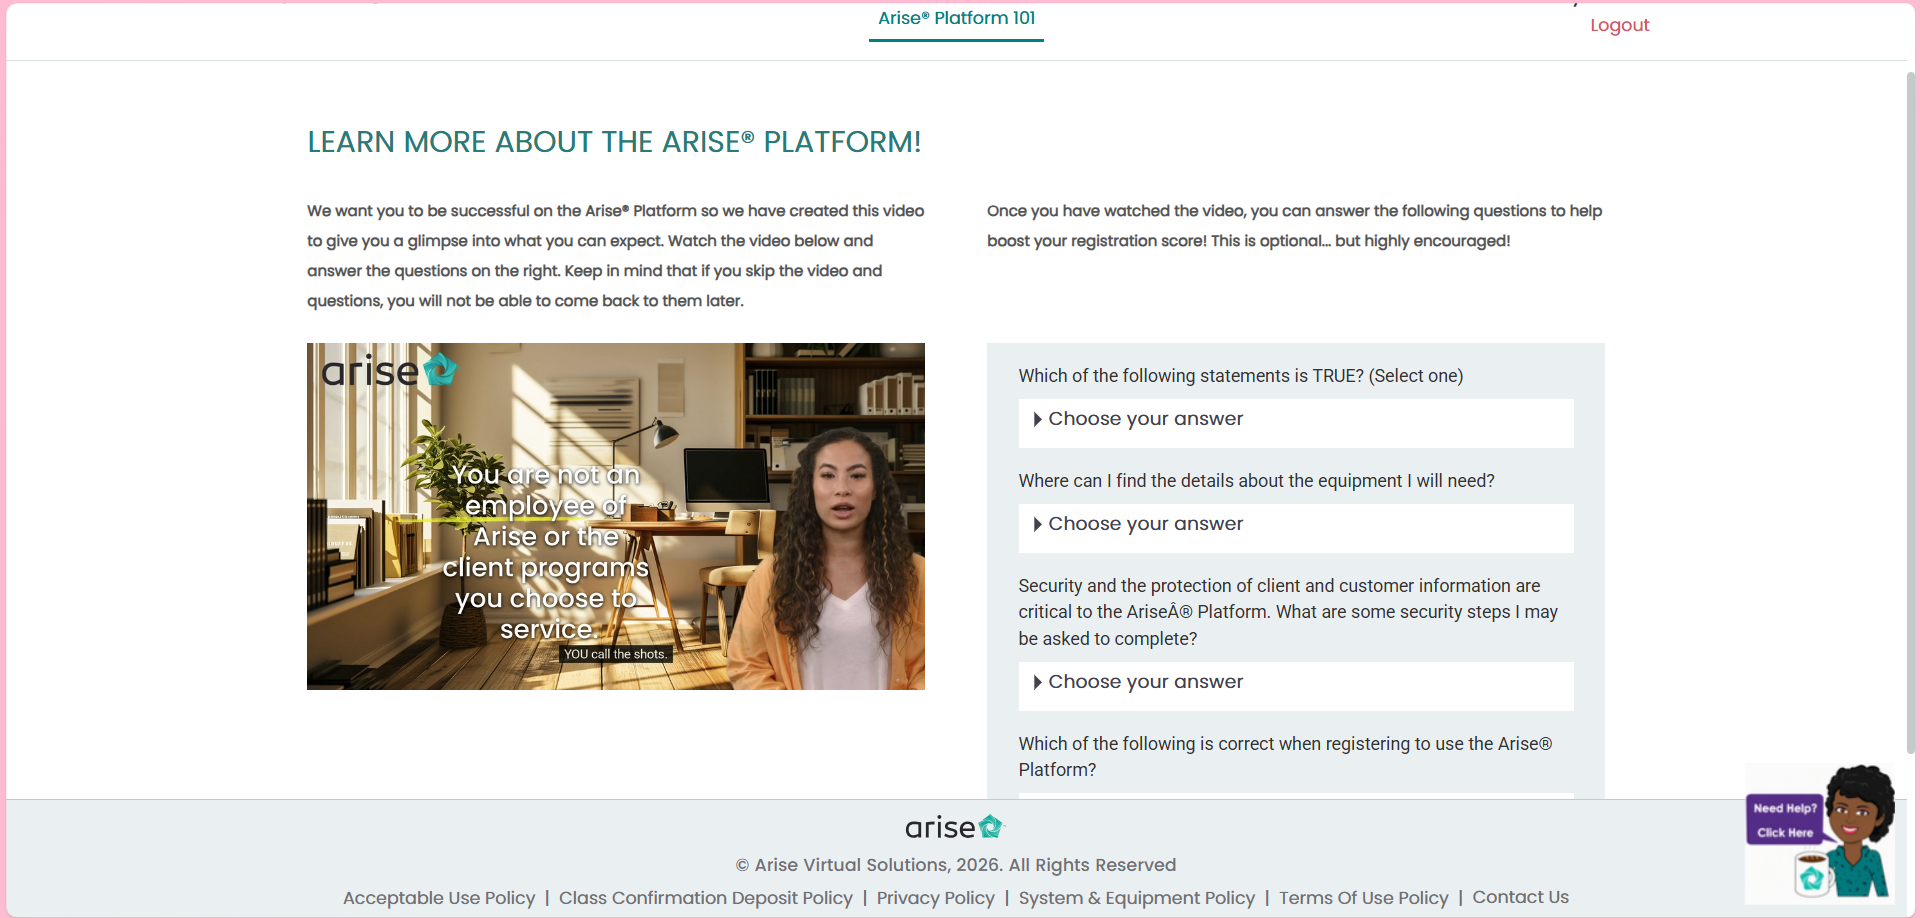
Step 15: Select 'I Want to Work for Someone Else'
When presented with the business options, choose 'I want to work for someone else' (or 'Service Partner Agent'). Do not choose to incorporate an independent company.
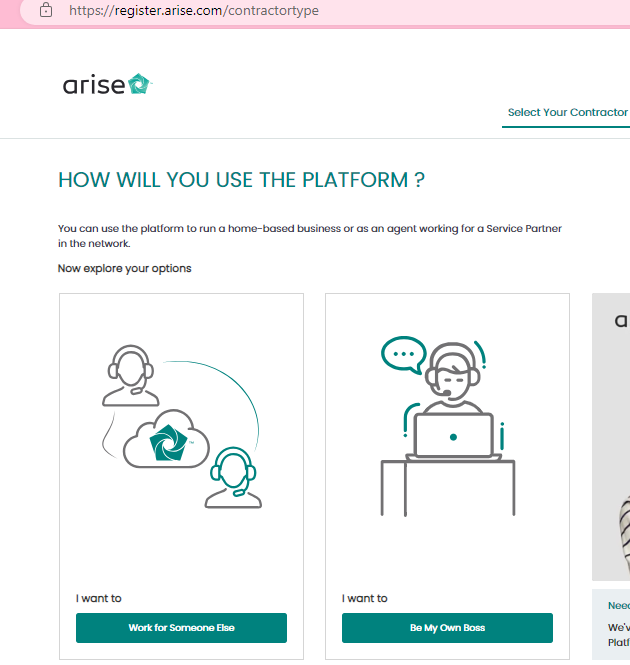
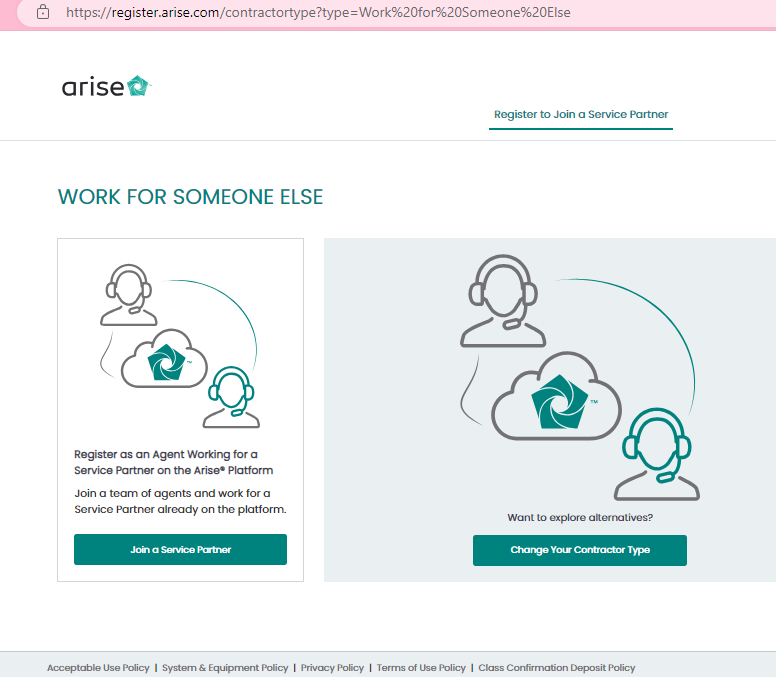
Step 16: Click 'Join a Service Partner'
Choose the option to 'Join a Service Partner' (also referred to as an Independent Business / Service Provider).
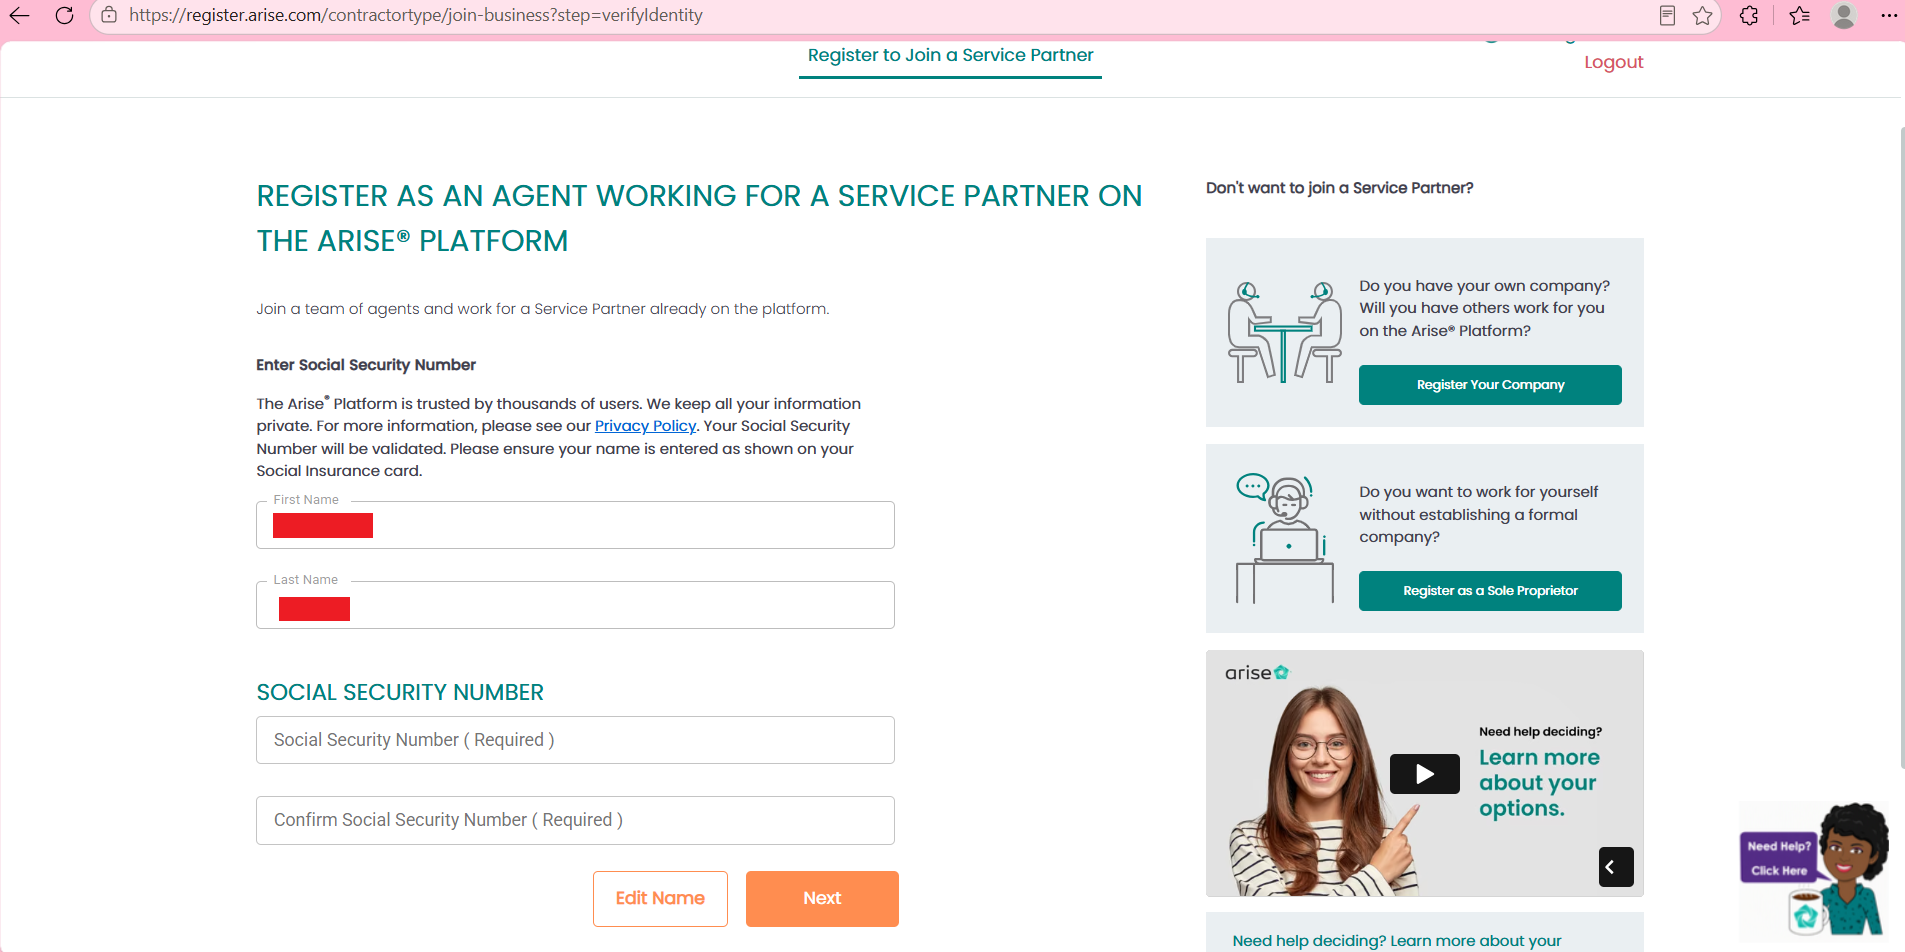
Step 17: Enter Personal Information & Verify Identity
Enter your personal information to complete your profile. Provide your first name, last name, and Social Security Number to verify your identity on the platform, then click 'Next'.
Step 18: Enter TRJ Connect Service Provider ID: 4016310
In the Service Partner ID / IB ID search field, enter 4016310 and click 'Search'. Confirm that 'TRJ Connect' appears, and then click 'Next' / 'Submit Request'.
Step 19: Partner Approval, Sign NDA & Complete Assessment
Our team will receive your request and approve it in the portal! Once approved, log back in to electronically sign your Non-Disclosure Agreement (NDA) and select your client certification course.
What Happens After You Complete Registration?
Once you submit your request to join TRJ Connect (ID: 4016310):
- Partner Request Acceptance: Our team checks incoming requests regularly and accepts your profile under our Service Partner umbrella.
- Sign Documents & NDA: Return to the portal dashboard to sign your electronic contractor agreements and Non-Disclosure Agreements.
- Take the 45-Minute Harver Assessment: Complete the standard customer service assessment from your dashboard.
- Select Your Client Opportunity: Browse available customer service, healthcare, travel, and retail programs and select the schedule that fits your life.
- Complete Certification & Start Earning: Attend your remote certification course, pass client metrics, and begin servicing with semi-monthly direct deposit!
Need Assistance With Your Registration?
If you get stuck on any step or have questions about client programs, our team is here to guide you toward your career goals.